Completion Date: April 18, 2020
The Nintendo Toycon Motorcycle broke down after 2 days of playing. Here is the fixed Motorcycle toycon.
=== Here is how it is broken ===
Overall view:
The right handle
1. Broken cardboard
2. Crease on cardboard, the tension lines
5. Cut the tape like so. Fold those corners to the back.
The Nintendo Toycon Motorcycle broke down after 2 days of playing. Here is the fixed Motorcycle toycon.
=== Here is how it is broken ===
Overall view:
The right handle
1. Broken cardboard
2. Crease on cardboard, the tension lines
The turning mechanism
1. Chaffed
2. Cardboard eroded away
Inserts of Turning mechanism
1. Chaffed
=== FIXING ===
Materials
- A4 paper
- popsicle sticks
- plastic folder
Tools
- glue gun
- Paper glue
- scissors
- snipers
- oil-based marker
- sandpaper
Fixing the right brake
1. Unfold the brake.
2. Cut two pieces of popsicle sticks.
3. Fit the popsicle sticks inside and wrap some tape around to secure the sticks inside. Fold the brake.
Fixing the Right handle
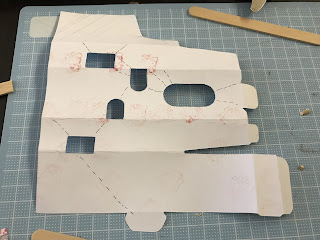
1. Trace the right handle shape. Note the right side is external, and left side is internal hidden inside the main compartment. So, now only need to get the external part.
2. I mark the weak lines. The fix is going to patch those weak spots.
3. Wrap the paper template to the right handle to make it it fits.
4. Fit the brake inside the handle. Fit the paper template’s in. Glue paper template ends together. Do not glue the template onto the cardboard.
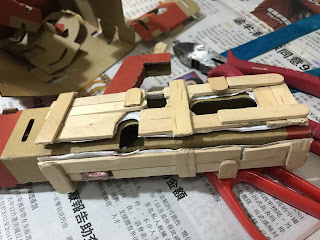
5. Cut popsicles to fit to the paper template and glue them to the paper template with glue gun. Sand the edges down smooth. Start gluing popsicles horizontally. After that, glue popsicle sticks vertically to make it strong. Finally, make popsicle sticks to bend at 90 degree angle, glue that so they fix the corners.
Fixing the parts
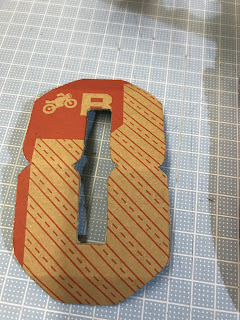
1. Trace out the parts from toycon cardboard leftovers.
2. Laminate the cardboard with tape.
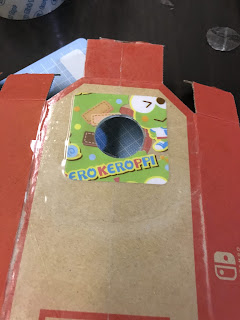
Fixing the turning mechanism, the hole
1. unfold the base.
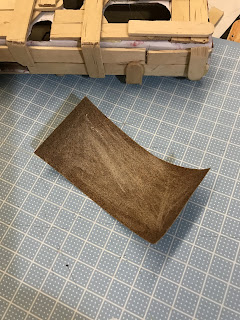
2. Cut 2 pieces of 6x6cm from plastic folder.
3. Use Sharpie (or oil-based marker) and trace out the hole onto the plastics. Cut the hole out.
4. Tape the plastics to the hole.
5. Cut the tape like so. Fold those corners to the back.
5. Tape the other plastic to the back.
7. Laminate the front with tape.
===Thoughts===
I searched on YouTube and internet for a fix, and couldn’t find one for motorcycle. LABO has very good intentions, but why not take this STEM skill to the next level.









Comments
Post a Comment