Purpose: To make a collapsible frame for a portable table.
Completion date: 2025-01-12
The main purpose of the frame:
- Provide raised step (~0.5cm height) for aligning the tiles in a straight line
- A place to put turned-over tiles along the frame
- Raised step design to prevent the tiles from falling off the table
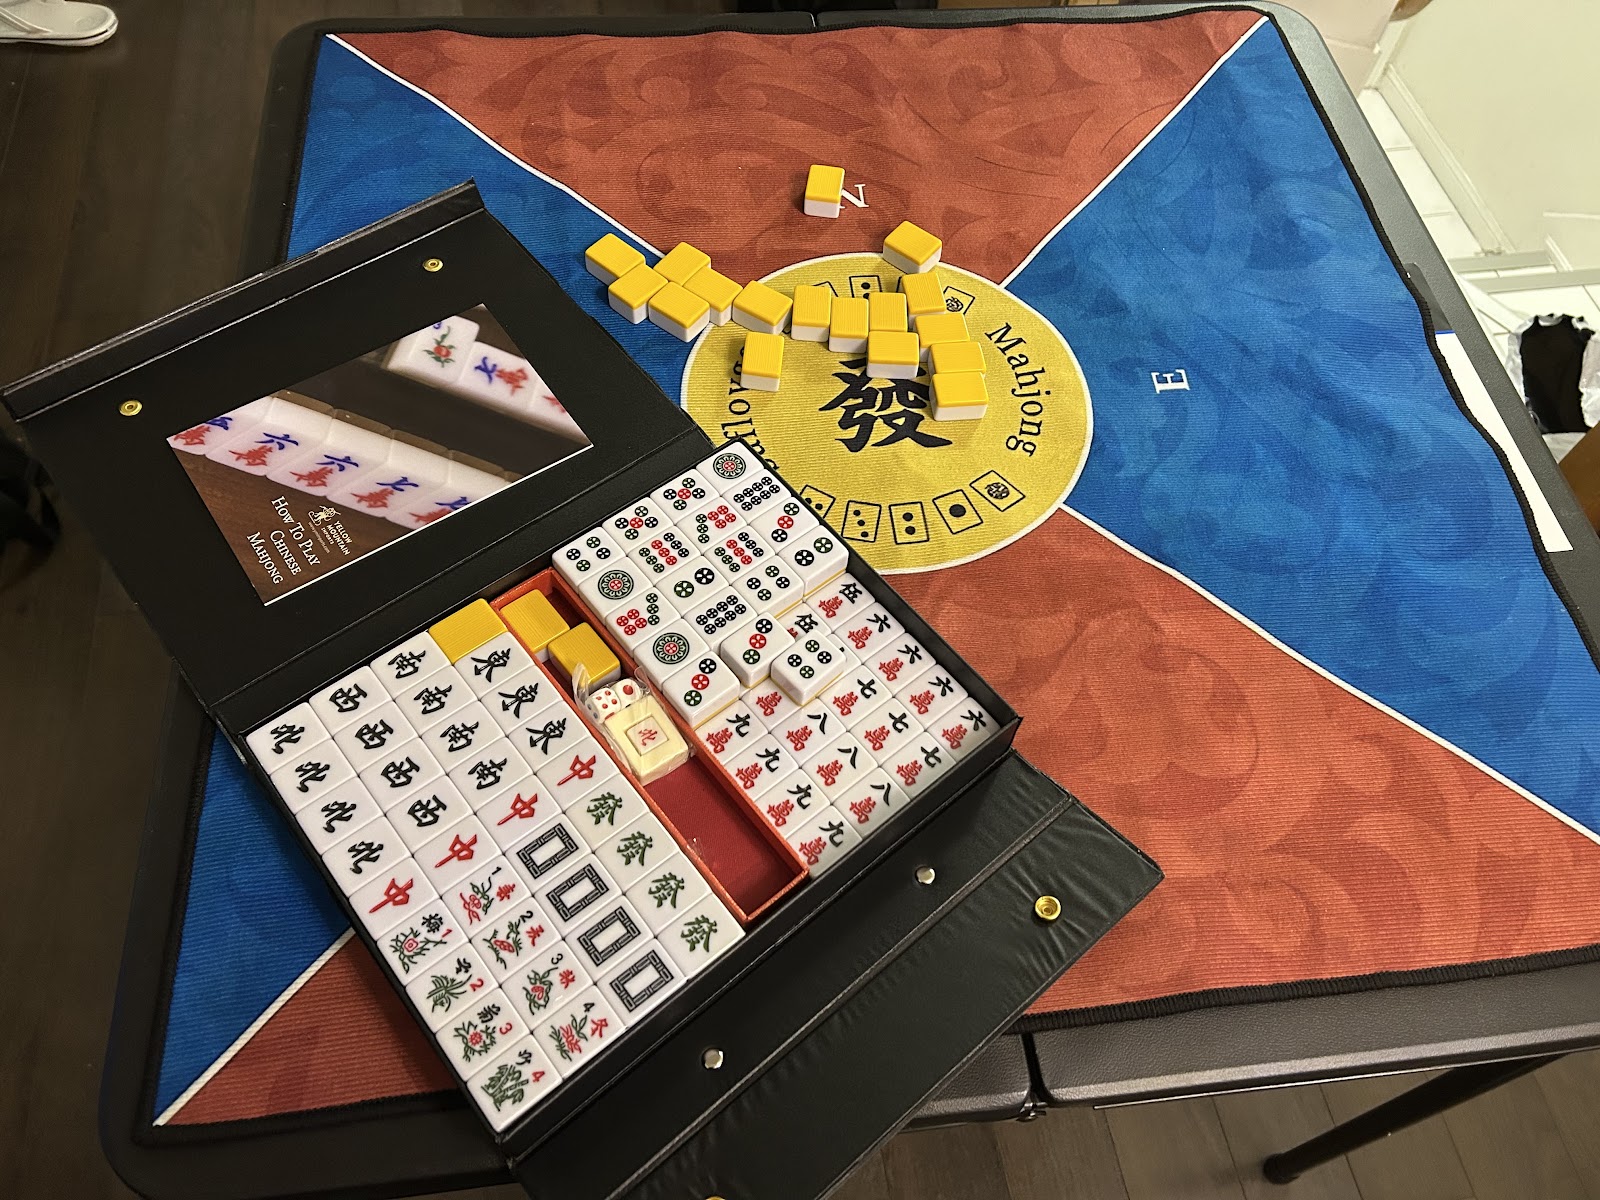
Portable table: 34” x 34”
Mahjong mat: 31” x 31”
Materials:
- Cardboard
- Adhesive wallpaper
- Double-sided tape
- 4 x L-shape brackets
- Paper
- Nano tape
- 8 x snap button bottom part
- Old ziploc bag
- Non-slip mat backing
Steps
Cut 8 strips of cardboard.
- 4 pieces: 1” x 34”
- 4 pieces: 0.75” x 34”

Fit set of four strips (0.75”) on the table with the mat. Mark and cut two ends 45 degrees.


Fit the strips around the mat snug with its inner edge against the mat's edge.
To check if snug: push the frame strips and see if it moves the mat. If yes, good. If not, try to reduce the slack gap in between the frame and the mat rim (could swap the strips to find best fit).
Mark the strips N/W/S/E in pencil.

Use double-sided tape to tape 1” width strip to 0.75” width strip.
Note: The overhang 0.25” would cover the mat rim, so take note which side to the pointed edge is.


Flush cut the 1" strip ends to match the corner of the 0.75 strip. Do the same for each combined strips.
Tape L-shape bracket to each frame part (to the bottom strip).


Use wallpaper adhesive to achieve wood-looking appearance. Wrap adhesive around the frame part.


Make a sleeve for the L-shape bracket.
Stick a piece of paper to nano tape (tape requirement: use a cutter to poke an opening, and try tearing the tape from the opening. It would be an ideal tape if the tape doesn’t split into half. Don’t use normal packing tape).
On the other end of the frame part, stick nano tape with the paper to the bottom of strip.

Make a push-pin action mechanism. The push-pins would help to lock the frame parts in place after the frame is assembled.
Take a piece of adhesive backing and mark the holes.

Take a piece of nano tape and stick it on top of the backing (glossy side).
Use a cutter to cut 2 crosses (3mm x 3mm) on the marks.

Push the snap buttons through the crosses (in between tape and backing). Make 4 of this piece.
Cut a piece of plastic from an old ziploc bag. Discard the paper backing of the piece and stick the nano tape with the 2 snap buttons to the plastic. Make 4 of these.
Assemble the N/W/S/E parts by inserting the L-shaped bracket into the sleeve, then push the snap button pins breaking into the sleeve to lock the installation.
Cut four 0.75” x 34” non-slip backing and staple the them into the back of the N/W/S/E frame parts.

Sew a drawstring bag for storing the Mahjong mat and the frame parts.
Comments
Post a Comment